Step #1. Search the web for whatever shape I am interested in. Go to google and choose images from the top left side.
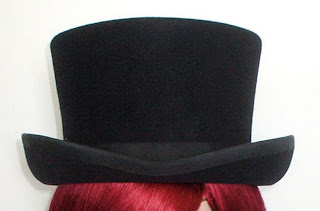
In this case I wanted a mad hatter shaped hat so (duh) I typed in "mad hatter hat" and got all kinds of fun pics.
I chose this one. HERE is the link if you want to use the same.

I copied and pasted the photo into a word document. I haven't figured out how to go directly to photoshop for some reason so I just save it as a word document and then open it in photoshop.
Step#2 Make it the size you want in photoshop or whatever photo editing program you like. You can even do this while still in word but I prefer photoshop because it is easier for me to get it precisely the size I want.
In this case I elongated the hat picture so that it was a bit taller and then made it about 5X5.5 inches in size.
Step #3 Print off several copies
Step #4 Cut the copies into template pieces.
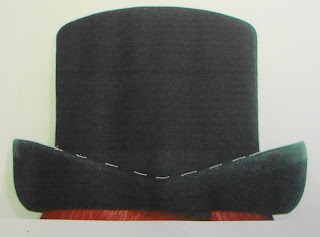
This is my first copy which I am using for the template of the top of the hat.
Cut on the dotted lines.


I wanted the hat to have a more curved appearance to the sides so I flipped the template over and used my curved ruler to indent the sides.
This is my second copy which I am using to make the brim template.


I now have pattern pieces to trace around on my cardstock. Since I was using black CS I used my white gel pen to trace the pieces.

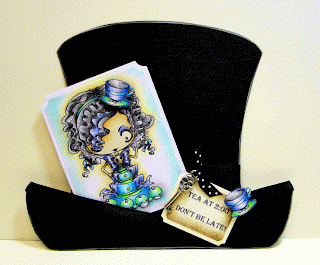
I felt it looked a little flat to I attached the black CS to some silver CS and trimmed closely around the edges just to give it a little dimension. I did this on the brim also. A piece of wide ribbon was wrapped around the base.
I also put a thin piece of ribbon along the top edge of the brim. Pop dots were used to prop up the brim so that the card would fit neatly inside.

I hope this was helpful and I am happy clarify any questions you may have just send me an email parosc@gmail.com.


2 comments:
its really clever thanks for sharing your tutorial xx
Kim! Fabulous tutorial - thanks so much! :-)Traci
Post a Comment